How to Use a Digital Pool Tester


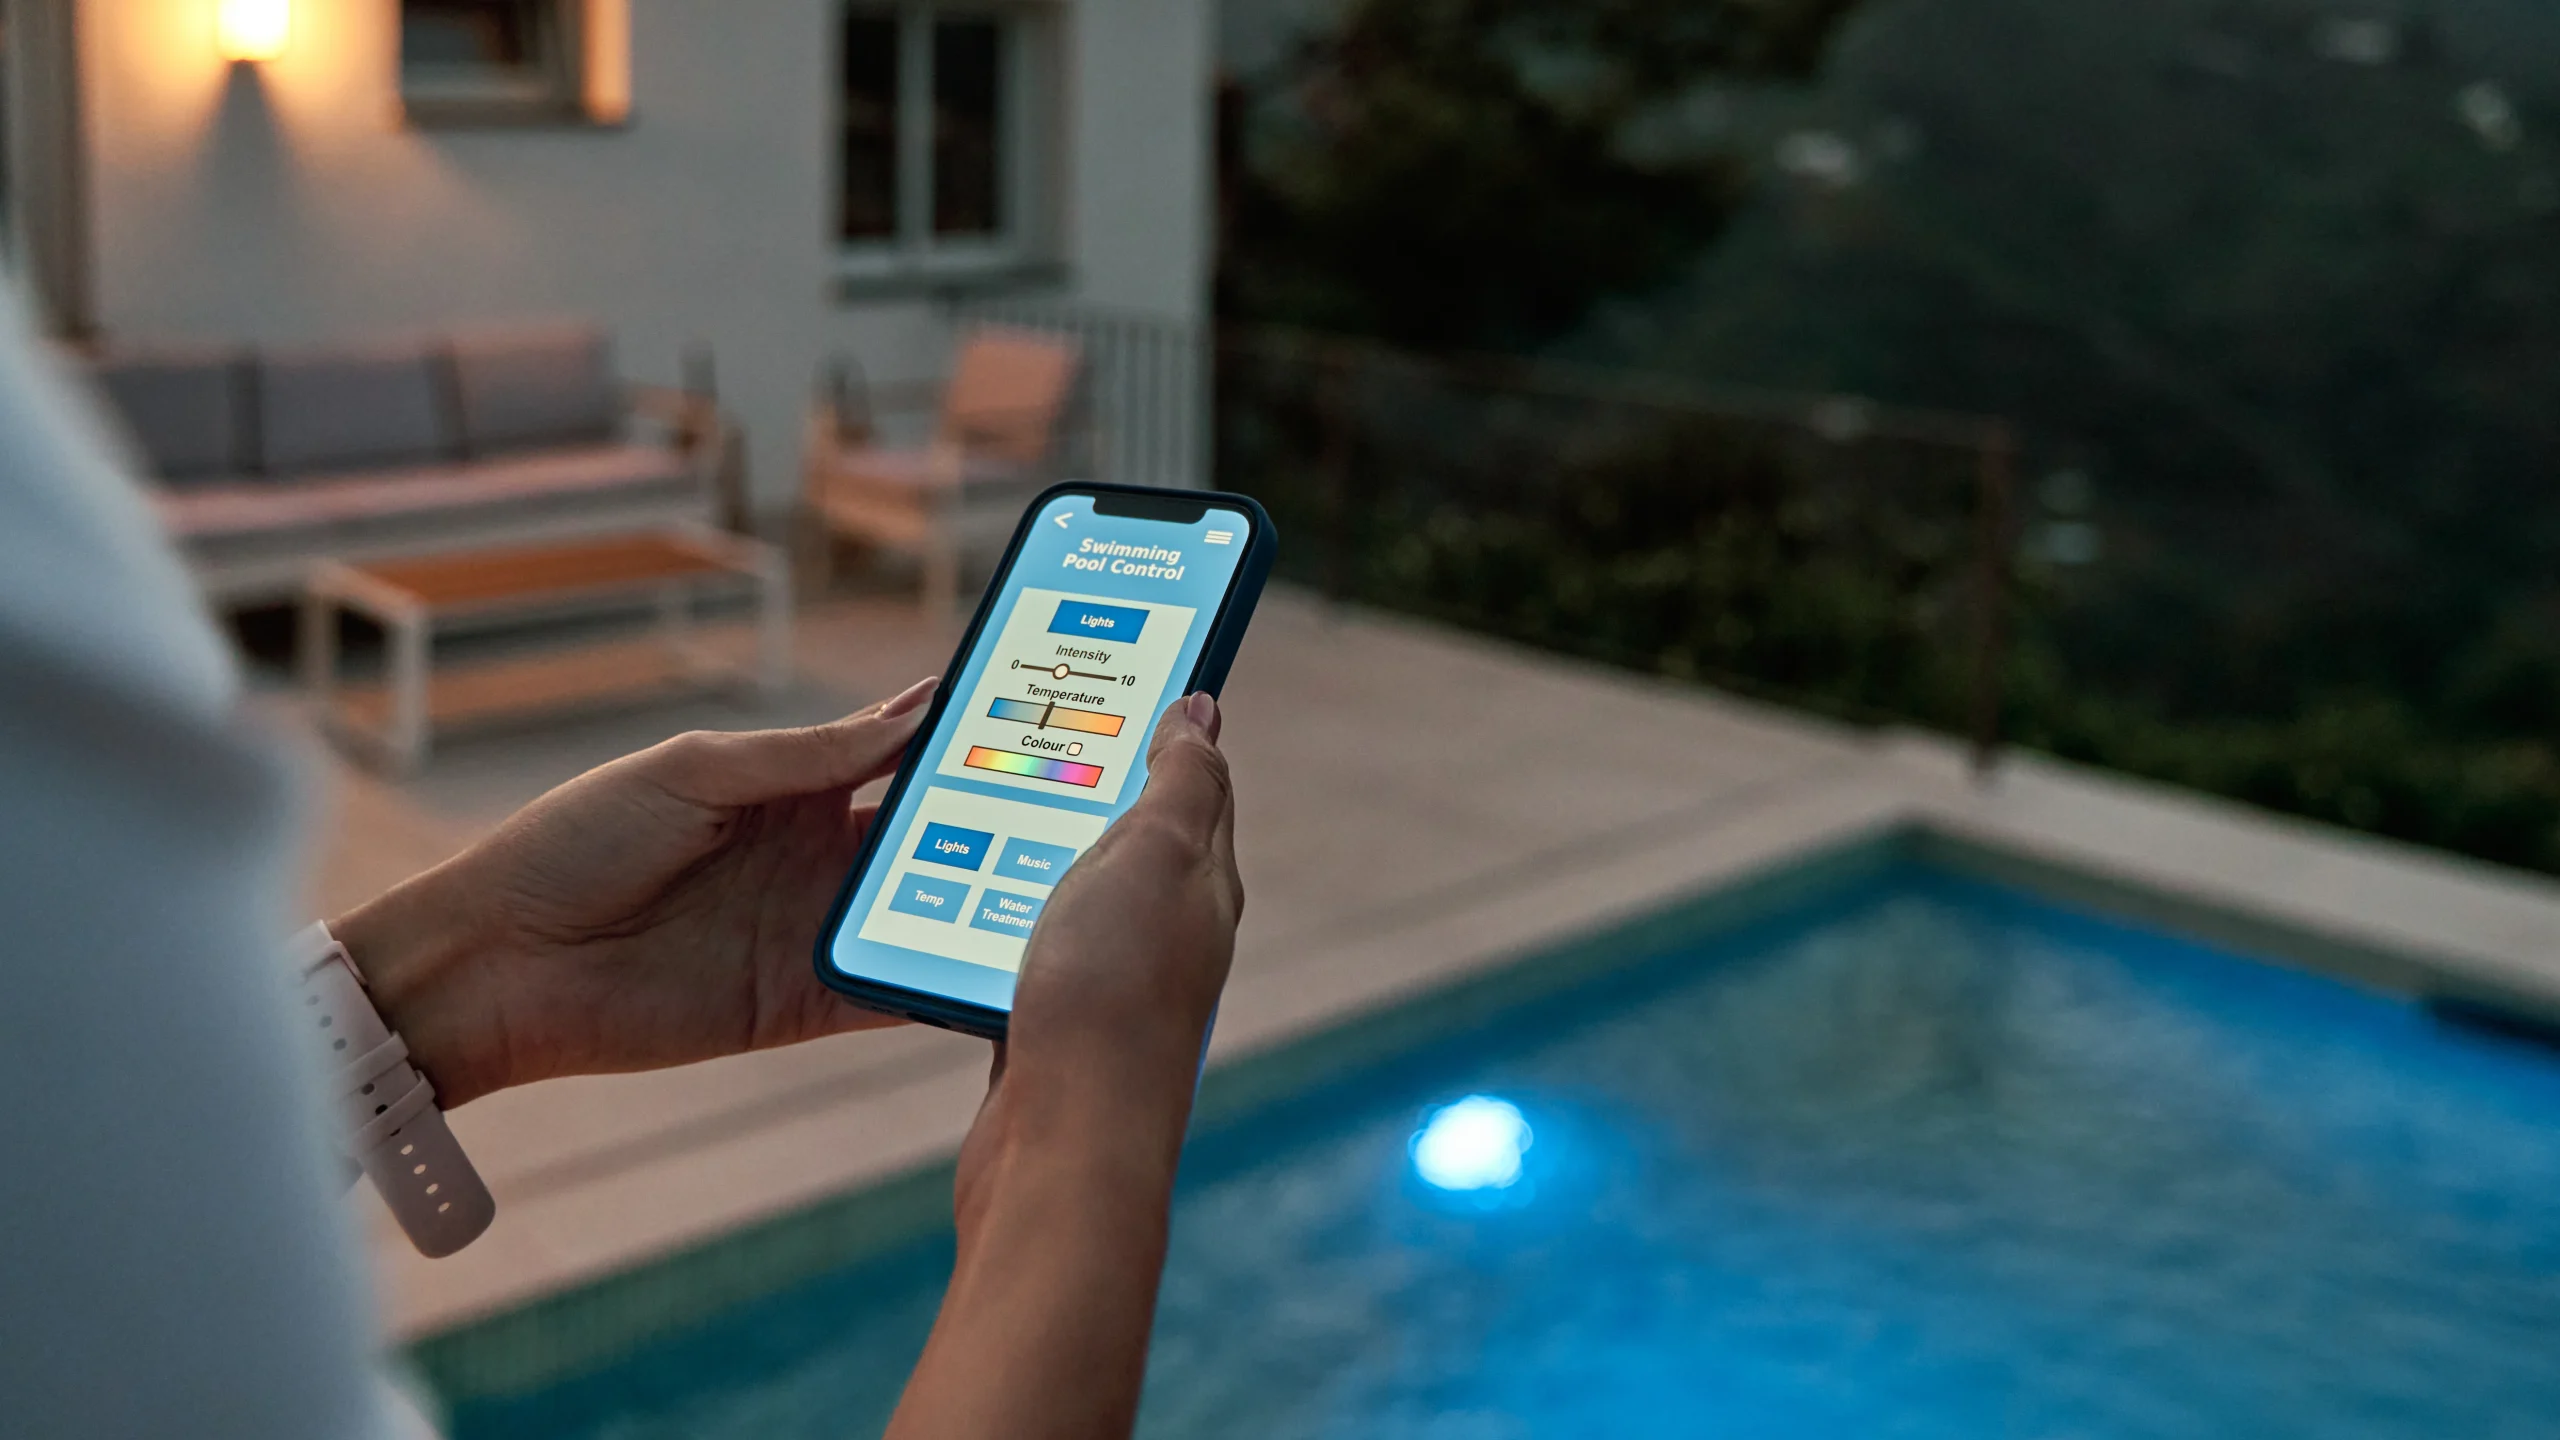
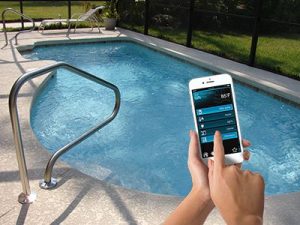
A pH digital tester can be handy also, especially at a commercial pool account to make sure the pH is within range of the local Health Department regulations  The benefits of a digital water tester are that you get spot results and they can perform tests the reagents cannot, such as Total Dissolved Solids (TDS), Salinity (Salt level) and ORP.  How do you use a Digital Pool Tester?

Digital water testers can perform tests with a small margin of error +/- of 1%

Turn on the tester & initialize
Select a parameter to test
Dip probes into the H2O sample
Wait for readings to display
Record results
Rinse probes between tests
Interpret readings against guidelines
Store properly after use

Introduction

Digital pool testers are advanced devices designed to measure various parameters of pool water with precision and convenience. Unlike traditional test kits that rely on color comparison or chemical reactions, digital testers use sensors or probes to analyze the water and provide digital readouts of the results. These testers can measure parameters such as pH, chlorine/bromine levels, total alkalinity, calcium hardness, and sometimes cyanuric acid, providing accurate and reliable data for pool maintenance. Digital pool testers offer several advantages, including faster testing times, greater accuracy, and ease of use, making them an increasingly popular choice for pool owners and professionals alike.


How to Use a Digital Pool Tester


Benefits of using digital pool testers over traditional methods include:

  1. Accuracy: Digital testers provide precise measurements with minimal margin for human error, ensuring more reliable results compared to traditional color-matching or titration methods.
  2. Speed: Digital testers deliver instant readings, eliminating the need for waiting for color changes or chemical reactions to occur, thus saving time during pool maintenance.
  3. Ease of Use: Digital testers are typically user-friendly, with simple operation and clear digital displays, making them accessible to both experienced pool operators and beginners.
  4. Multiple Parameters: Many digital testers can measure multiple parameters simultaneously, such as pH, chlorine, alkalinity, and more, streamlining the testing process and providing comprehensive data for water balance.
  5. Memory Function: Some digital testers have memory functions that store previous test results, allowing for easy tracking of water quality trends over time and comparison of current readings with past data.
  6. Consistency: Digital testers provide consistent results regardless of environmental factors such as lighting conditions or individual interpretation, ensuring uniformity in testing.
  7. Convenience: Digital testers are portable and require minimal sample volume, making them convenient for on-the-go testing or when dealing with small pool volumes.
  8. Long-term Cost Savings: While digital testers may have a higher initial cost than traditional test kits, their accuracy and durability can lead to long-term cost savings by reducing the need for retesting and chemical adjustments.

Overall, digital pool testers offer an efficient and reliable solution for monitoring water quality, helping pool owners maintain clean, safe, and properly balanced swimming environments


Getting Started


Unboxing and assembling the digital tester

Unboxing and assembling a digital pool tester is typically straightforward. Here’s a step-by-step guide:

  1. Unboxing: Carefully open the packaging of the digital tester, ensuring all components are present.
  2. Inspect Contents: Check the box for the digital tester, probes or sensors, instruction manual, batteries (if required), and any other included accessories.
  3. Read the Manual: Before assembly, read the instruction manual thoroughly to familiarize yourself with the components and assembly process.
  4. Insert Batteries (if required): If the digital tester requires batteries, open the battery compartment and insert the batteries according to the polarity markings.
  5. Assemble Probes or Sensors: Attach the probes or sensors to the main unit as per the manufacturer’s instructions. This may involve screwing them into place or simply connecting them securely.
  6. Power On: Turn on the digital tester according to the instructions provided. Some models may have a power button or switch.
  7. Initialize: Allow the digital tester to initialize or calibrate, if necessary, by following any on-screen prompts or waiting for a specified period.
  8. Verify Readiness: Ensure that the digital display is functioning correctly and that the tester is ready for use.

By following these steps, you can successfully unbox and assemble your digital pool tester, preparing it for accurate and convenient testing of your pool water.

Familiarizing yourself with the device’s components


Familiarizing yourself with the components of a digital pool tester is essential for effective use. Here’s how to do it:

  1. Main Unit: This is the central part of the tester, usually housing the display screen, buttons, and electronic components.
  2. Probes or Sensors: These are the parts that come into contact with the pool water to measure parameters such as pH, chlorine, or other chemical levels. They may be attached directly to the main unit or connected via cables.
  3. Display Screen: The display screen shows the test results, providing digital readouts of the measured parameters. It may also display other information such as battery status, test mode, or error messages.
  4. Buttons or Controls: These allow you to navigate menus, select test parameters, or perform other functions on the tester. They may include power buttons, mode selection buttons, or calibration controls.
  5. Battery Compartment: If the tester is battery-powered, it will have a compartment for inserting batteries. Familiarize yourself with the location and type of batteries required.
  6. Calibration Ports (if applicable): Some digital testers may have calibration ports for connecting calibration solutions or reference electrodes. These ports are used to calibrate the tester for accurate measurements.
  7. Cables (if applicable): If the probes or sensors are connected to the main unit via cables, familiarize yourself with the cable connections and ensure they are securely attached.

By understanding the various components of the digital pool tester, you’ll be better prepared to use it effectively and accurately to measure your pool water parameters.


Preparing for Testing


Ensuring that the digital pool tester is calibrated is crucial for obtaining accurate test results. Here’s how to check and calibrate the tester if necessary:

  1. Check the Manual: Refer to the instruction manual provided by the tester to determine if calibration is required and how to perform it.
  2. Verify Factory Calibration: Some digital testers come pre-calibrated from the factory and may not require additional calibration. Check the manual to confirm.
  3. Calibration Solution: If calibration is necessary, obtain the appropriate calibration solution recommended by the manufacturer for the parameter you’re testing (e.g., pH calibration solution).
  4. Prepare Calibration Solution: Follow the instructions provided with the calibration solution to prepare it according to the specified concentration.
  5. Perform Calibration: Dip the probes or sensors of the tester into the calibration solution and follow the calibration procedure outlined in the manual. This typically involves adjusting the tester’s settings or readings to match the known values of the calibration solution.
  6. Verify Accuracy: After calibration, check the tester’s readings against the known values of the calibration solution to ensure accuracy. Make any necessary adjustments if the readings are off.
  7. Repeat as Needed: Calibration may need to be repeated periodically to maintain accuracy, especially if the tester is used frequently or if it’s been a long time since the last calibration.

By ensuring that the digital pool tester is properly calibrated, you can trust that your test results are accurate and reliable, leading to better-informed decisions about maintaining your pool water quality.

A. Ensure the tester is calibrated (if necessary)
B. Prepare the pool water sample according to the tester’s instructions

Preparing the pool water sample according to the tester’s instructions is essential for obtaining accurate test results. Here’s a general guide:

  1. Clean Container: Use a clean plastic container to collect the water sample. Avoid using metal containers or those with residues that could contaminate the sample.
  2. Elbow Depth: Submerge the container into the pool water at elbow depth. This ensures that the sample is representative of the water’s overall chemistry.
  3. Fill Container: Fill the container with the pool water, ensuring it’s filled to the recommended level specified in the tester’s instructions. Avoid overfilling or underfilling the container.
  4. Avoid Contamination: Be careful not to touch the inside of the container or the water sample with your hands or any other objects to prevent contamination.
  5. Secure Lid (if applicable): If the tester requires a lid or cover for the sample container, secure it tightly to prevent spillage or evaporation.
  6. Stabilize Sample: Allow the water sample to stabilize for a few moments before testing to ensure that any temperature or pH variations have time to settle.
  7. Test Promptly: Perform the test promptly after collecting the water sample to minimize changes in water chemistry that could affect the accuracy of the results.
  8. Dispose of Sample: After testing, dispose of the water sample properly. Avoid pouring it back into the pool to prevent contamination.

By following these steps, you can properly prepare the pool water sample for testing with your digital pool tester, ensuring accurate and reliable results.


Turn on the digital tester and allow it to initialize


To turn on the digital pool tester and allow it to initialize, follow these steps:

  1. Locate the Power Button: Identify the power button or switch on the digital tester. This is typically located on the main unit of the tester.
  2. Press the Power Button: Press the power button to turn on the digital tester. Hold the button for a few seconds if necessary, depending on the model.
  3. Observe Initialization: After turning on the tester, observe the display screen for any signs of initialization. This may include the display lighting up, a startup message, or the tester performing a self-check.
  4. Wait for Ready Indicator: Some digital testers may have a ready indicator or status display that indicates when the tester is ready for use. Wait for this indicator to appear before proceeding with the test.
  5. Allow Time for Calibration (if applicable): If the digital tester requires calibration or initialization upon startup, allow sufficient time for this process to be completed before conducting the test.
  6. Ensure Battery Power (if applicable): If the digital tester is battery-powered, ensure that the batteries have sufficient charge. Replace batteries if necessary to prevent interruptions during testing.
  7. Read the User Manual: Refer to the user manual provided by the digital tester for specific instructions on turning it on, initializing, and preparing for testing.

By following these steps, you can successfully turn on the digital pool tester and allow it to initialize, ensuring accurate and reliable test results for your pool water.


Conducting the Test

Digital Pool Ph Chlorine Tester Royalty-Free Images, Stock Photos & Pictures | Shutterstock
Digital Pool Ph Chlorine Tester

Dip the tester’s probes or sensors into the water sample B. Wait for the tester to analyze the sample and display the results C. Record the readings provided by the digital tester

To conduct the test with your digital pool tester, follow these steps:

  1. Prepare the Tester: Ensure that the digital pool tester is turned on and initialized according to the manufacturer’s instructions.
  2. Select Parameter: Choose the parameter you want to test, such as pH, chlorine, or alkalinity, using the buttons or controls on the tester.
  3. Dip Probes or Sensors: Submerge the probes or sensors of the tester into the prepared pool water sample. Ensure that they are fully immersed and that there are no air bubbles trapped around them.
  4. Wait for Readings: Allow the tester a few moments to analyze the water sample and provide the readings. The digital display should indicate when the analysis is complete.
  5. Record Readings: Take note of the readings displayed on the digital screen for the parameter you’re testing. Some testers may provide results in numerical values, while others may use symbols or color coding.
  6. Repeat if Necessary: If testing multiple parameters or conducting additional tests, rinse the probes or sensors between tests and follow the same process for each parameter.
  7. Interpret Results: Compare the readings obtained from the digital tester to the recommended ranges for the parameter you’re testing. Determine if any adjustments to the pool water chemistry are needed based on the results.
  8. Clean Up: After testing is complete, rinse the probes or sensors with clean water to remove any residual pool water. Turn off the digital tester and store it properly for future use.

By following these steps, you can effectively conduct tests with your digital pool tester, ensuring accurate and reliable measurements of your pool water parameters.

Understanding the parameters being measured

Understanding the parameters being measured by your digital pool tester is crucial for interpreting test results and maintaining proper water chemistry. Here’s an overview of common parameters:

  1. pH: pH measures the acidity or alkalinity of the water on a scale from 0 to 14. A pH of 7 is neutral, while values below 7 are acidic and above 7 are alkaline. Maintaining the pH within the recommended range (typically 7.2 to 7.6) helps ensure swimmer comfort and prevents corrosion or scaling of pool surfaces and equipment.
  2. Chlorine: Chlorine levels indicate the effectiveness of disinfection in the pool. Free chlorine refers to the amount of chlorine available to kill bacteria and algae, while total chlorine includes both free chlorine and combined chlorine (chloramines). Recommended free chlorine levels vary but are typically between 1.0 and 3.0 parts per million (ppm) for most pools.
  3. Total Alkalinity: Total alkalinity acts as a buffer, stabilizing the pH of the water and preventing rapid fluctuations. Maintaining total alkalinity within the recommended range (usually between 80 and 120 ppm) helps ensure that the pH remains stable and prevents corrosion or scaling.
  4. Calcium Hardness: Calcium hardness measures the concentration of dissolved calcium in the water. Proper calcium hardness levels (typically between 200 and 400 ppm) help prevent corrosion of pool surfaces and equipment and minimize scaling caused by high calcium levels.
  5. Cyanuric Acid (Stabilizer): Cyanuric acid, also known as a stabilizer or conditioner, helps protect chlorine from degradation due to UV exposure. Maintaining the cyanuric acid level within the recommended range (usually between 30 and 50 ppm for outdoor pools) optimizes chlorine effectiveness and reduces the need for frequent shock treatments.

By understanding these parameters and their importance in maintaining water quality, you can effectively interpret test results from your digital pool tester and take appropriate actions to ensure a clean, safe, and balanced swimming environment.

Maintenance and Care of a Digital Tester


The Best Robot Pool Cleaners And Smart Water Monitors For
Digital Pool Testing

Maintaining and caring for your digital pool tester is essential to ensure accurate and reliable test results. Here are some maintenance tips:

  • Clean Probes or Sensors: After each use, rinse the probes or sensors of the tester with clean water to remove any residual pool water or debris. Avoid using harsh chemicals or abrasive cleaners, as they may damage the probes.
  • Store Properly: Store the digital pool tester in a clean, dry place away from direct sunlight and moisture when not in use. Proper storage helps prevent damage and extends the life of the tester.
  • Calibrate Regularly (if applicable): If your digital tester requires calibration, follow the manufacturer’s recommendations for calibration frequency and procedures. Regular calibration helps maintain accuracy and reliability in test results.
  • Replace Batteries (if applicable): If the digital tester is battery-powered, monitor the battery level regularly and replace batteries as needed to ensure uninterrupted operation.
  • Avoid Impact or Rough Handling: Handle the digital pool tester with care to avoid dropping or damaging it. Rough handling can affect the accuracy of the tester’s readings and may cause premature failure.
  • Follow Manufacturer’s Instructions: Always follow the manufacturer’s instructions for using, cleaning, and maintaining the digital pool tester. Failure to do so may void the warranty or compromise the performance of the tester.
  • Keep User Manual: Keep the user manual provided with the digital tester for reference. The manual contains important information on operation, maintenance, troubleshooting, and safety precautions.

By following these maintenance tips, you can ensure that your digital pool tester remains in good working condition and continues to provide accurate and reliable test results for your pool water.

Properly storing the digital tester

Properly storing your digital pool tester is crucial to ensure its longevity and accuracy. Here’s how to do it:

  1. Clean and Dry: Before storing, ensure that the tester is clean and dry. Wipe down the exterior with a clean, dry cloth to remove any moisture or residue.
  2. Protect from Moisture: Store the digital tester in a dry environment to prevent moisture buildup, which can damage electronic components. Avoid storing it near the pool or other water sources.
  3. Avoid Extreme Temperatures: Keep the tester away from extreme temperatures, as both heat and cold can affect its performance. Choose a storage location that remains within a moderate temperature range.
  4. Protect from Sunlight: Direct sunlight can damage the display screen and other sensitive components of the tester. Store it in a shaded area or use a protective cover if necessary.
  5. Use Original Packaging (if available): If the tester came with original packaging, consider storing it in the packaging to provide additional protection from dust and debris.
  6. Keep Away from Chemicals: Avoid storing the tester near chemicals or other potentially corrosive substances, as they can damage the casing and electronic components.
  7. Store in a Safe Location: Choose a secure location for storing the digital tester to prevent accidental damage or theft. A locked cabinet or storage box may be ideal for added security.
  8. Follow Manufacturer’s Recommendations: Refer to the user manual or manufacturer’s recommendations for specific storage instructions and precautions.

By following these guidelines, you can properly store your digital pool tester, ensuring that it remains in good condition and continues to provide accurate test results for your pool water.

Conclusion

In conclusion, maintaining proper water chemistry in your pool is essential for a clean, safe, and enjoyable swimming experience. Digital pool testers offer a convenient and accurate way to monitor key parameters such as pH, chlorine, alkalinity, and more. By following the steps outlined in this guide, including proper testing techniques, interpretation of results, and maintenance of your digital tester, you can effectively manage your pool’s water quality and ensure a pristine swimming environment for yourself and your family. Remember to test your pool water regularly, follow recommended guidelines for chemical adjustments, and seek professional assistance if needed. With diligence and care, you can keep your pool water balanced and inviting throughout the swimming season.


JimGalloway Author/Editor 


References:

Leslies Pools- Digital Pool Testers 


FAQ’s

  • Where can I find replacement probes or sensors for the digital tester?  Replacement probes or sensors for digital pool testers can typically be found through the manufacturer’s website or authorized dealers. You may also check online marketplaces like Amazon or specialty pool supply stores. Ensure compatibility with your specific digital tester model before purchasing replacements.
  • Is it necessary to replace the batteries in the digital tester?  Yes, it is necessary to replace the batteries in the digital pool tester when they are depleted to ensure proper functioning. Low battery levels can affect the accuracy and reliability of test results. Refer to the user manual for the tester to determine the type of batteries required and the recommended replacement interval.
  • What should I do if the digital tester displays an error message?  If the digital tester displays an error message, refer to the user manual for troubleshooting instructions. Common solutions may include recalibrating the tester, ensuring proper probe placement, or checking battery levels. If the issue persists, contact the manufacturer’s customer support for further assistance or to arrange for repairs.
  • How do I clean the probes of the digital tester?
  1. Rinse the probes with clean water after each use to remove any residue.
  2. Gently wipe the probes with a soft cloth to remove any remaining debris.
  3. If necessary, use a mild detergent solution to clean stubborn buildup, then rinse thoroughly with water.
  4. Avoid using abrasive materials or harsh chemicals, as they may damage the probes.
  5. Allow the probes to air dry completely before storing the digital tester.


Recent Posts